
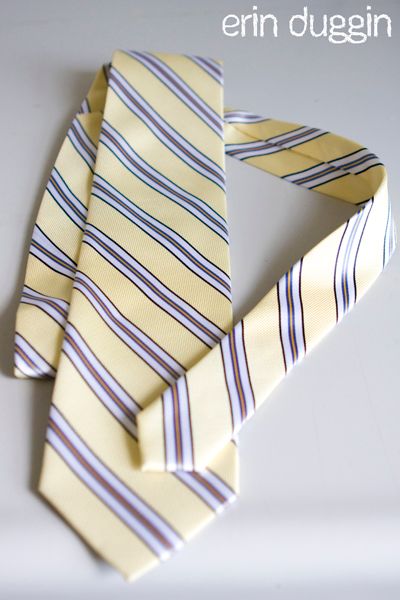
1) Buy a men's tie you like. Please refrain from buying a psychedelic one or one with cartoon characters on it because well...they are ugly.
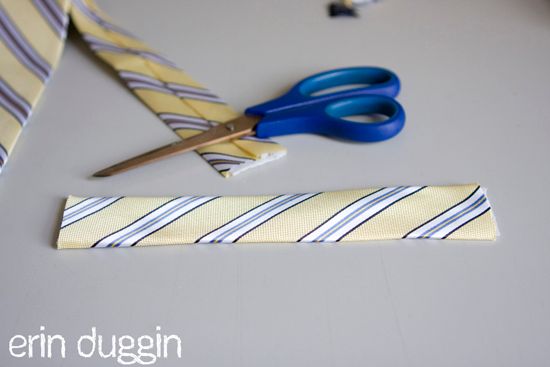
2) Cut a strip from the skinny side of the tie about 8 inches long.
3) Fold the piece in half with the back side (the side with the seam) facing out. Dust off the old sewing machine and sew together the two edges to create a loop.
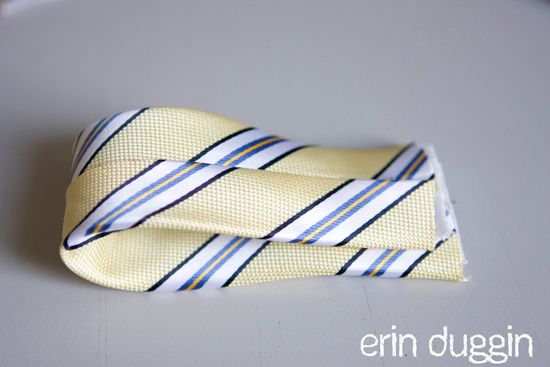
4) Turn the loop right side out so the sewed seam is now on the inside.
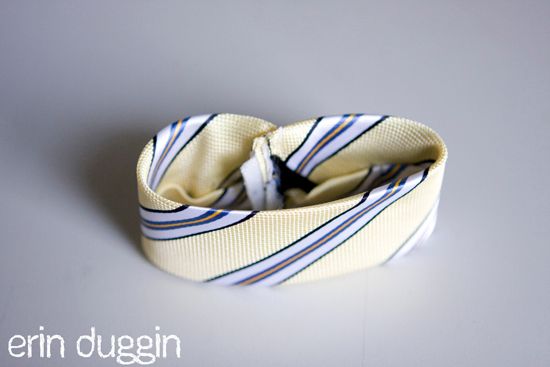
5) Cute a small strip a few inches long from the back of the neck tie.
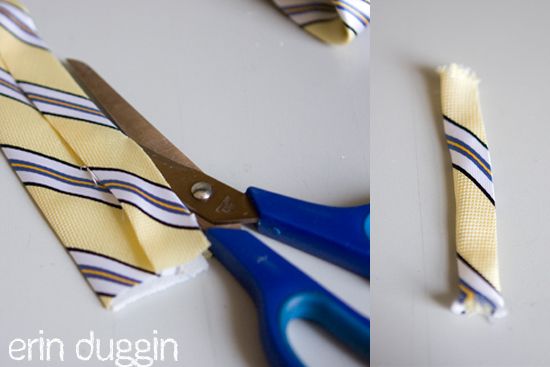
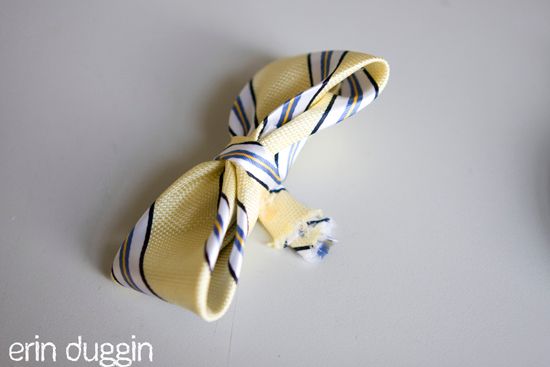
6) Turn the small strip inside out and sew the edges together. Then turn the fabric right side out. This isn't easy, use a pencil or scissors to help you turn it right side out. Then hand sew the loop in the middle to make the bow tie. Make sure it is tight enough.
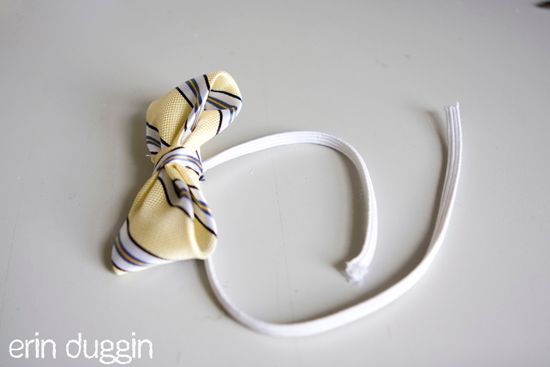
7) Measure your little man's neck to see how much elastic to use. Then slide the elastic through the small loop and sew the edges together.
8) And finally, put it on your little man.

Doesn't Tate look dashing in his new bow tie? He did get a little cocky though. I peed my pants a little bit when I edited the pics and found this shot...

"Heelllloooo there. Yes, I'm kind of a big deal. I have many leather bound books."
Anyways, that's how you can make a baby bow tie from a regular necktie. Here are some similar tutorials for other ways to do it Here and HERE.
O.K., now I really do have to go clean. Have a good weekend!
14 comments:
OH MY GOODNESS!!!! So adorable. And you are a genius. And that last shot of Tate is hysterical. I love him!
Brilliant! Seriously, how did you get the kid to raise his eyebrow like that??? cute overload!
He is ADORABLE! Love the pictures :) Happy Baptism Day!
Can't wait to see him in this on Sunday! Russ thinks he needs a pipe in his hand for that last pic. Photoshop?
You are my crafting hero. And Tate in that bow tie is just. too. much.
LOVE IT!!
Very cute and creative!!!
Here is a tip for the future: if you sew a piece of heavy string to the 'front side of loop end' before you sew the loop seam, then you can just pull the string through and turn it inside out quick and easy! Thanks for the tutorial, it only took me about 30 minutes to whip 3 bow ties out of one tie! =)
Nice looking necktie and it looks good around the kids neck. Doing innovations on ties plus a little creativity will make make your old ties look brand new...
company ties
This is awesome!!!!!! Thank you!!! I am totally addicted to bow ties for my new little man! And the pics of Tate are awesome, the last one is hilarious!! Almost as hilarious as your comments :-)
Thread Etiquette is the quintessence of class on the street. We believe that style is limitless and your wardrobe should be an extension of your personality. Thread Etiquette is sharp, edgy and polished. Versatility is key, so take note and master the art of effortlessly evolving from street to tux – we’ve got you covered.
Ties
Thank you so much for sharing this fantastic tutorial. I have just made three pairs for my children to wear at my sister's wedding and they looked so cute and gorgeous.
very simple in execution, but packs a lot of punch!
Post a Comment